
Journeys shows you the paths visitors take through your website. This article explains the three views and how to move around the board.
Last updated: October 3, 2026
Requirements
The snippet is installed on your website.
For the “Route” and “End” views you need at least one goal.
Open Journeys
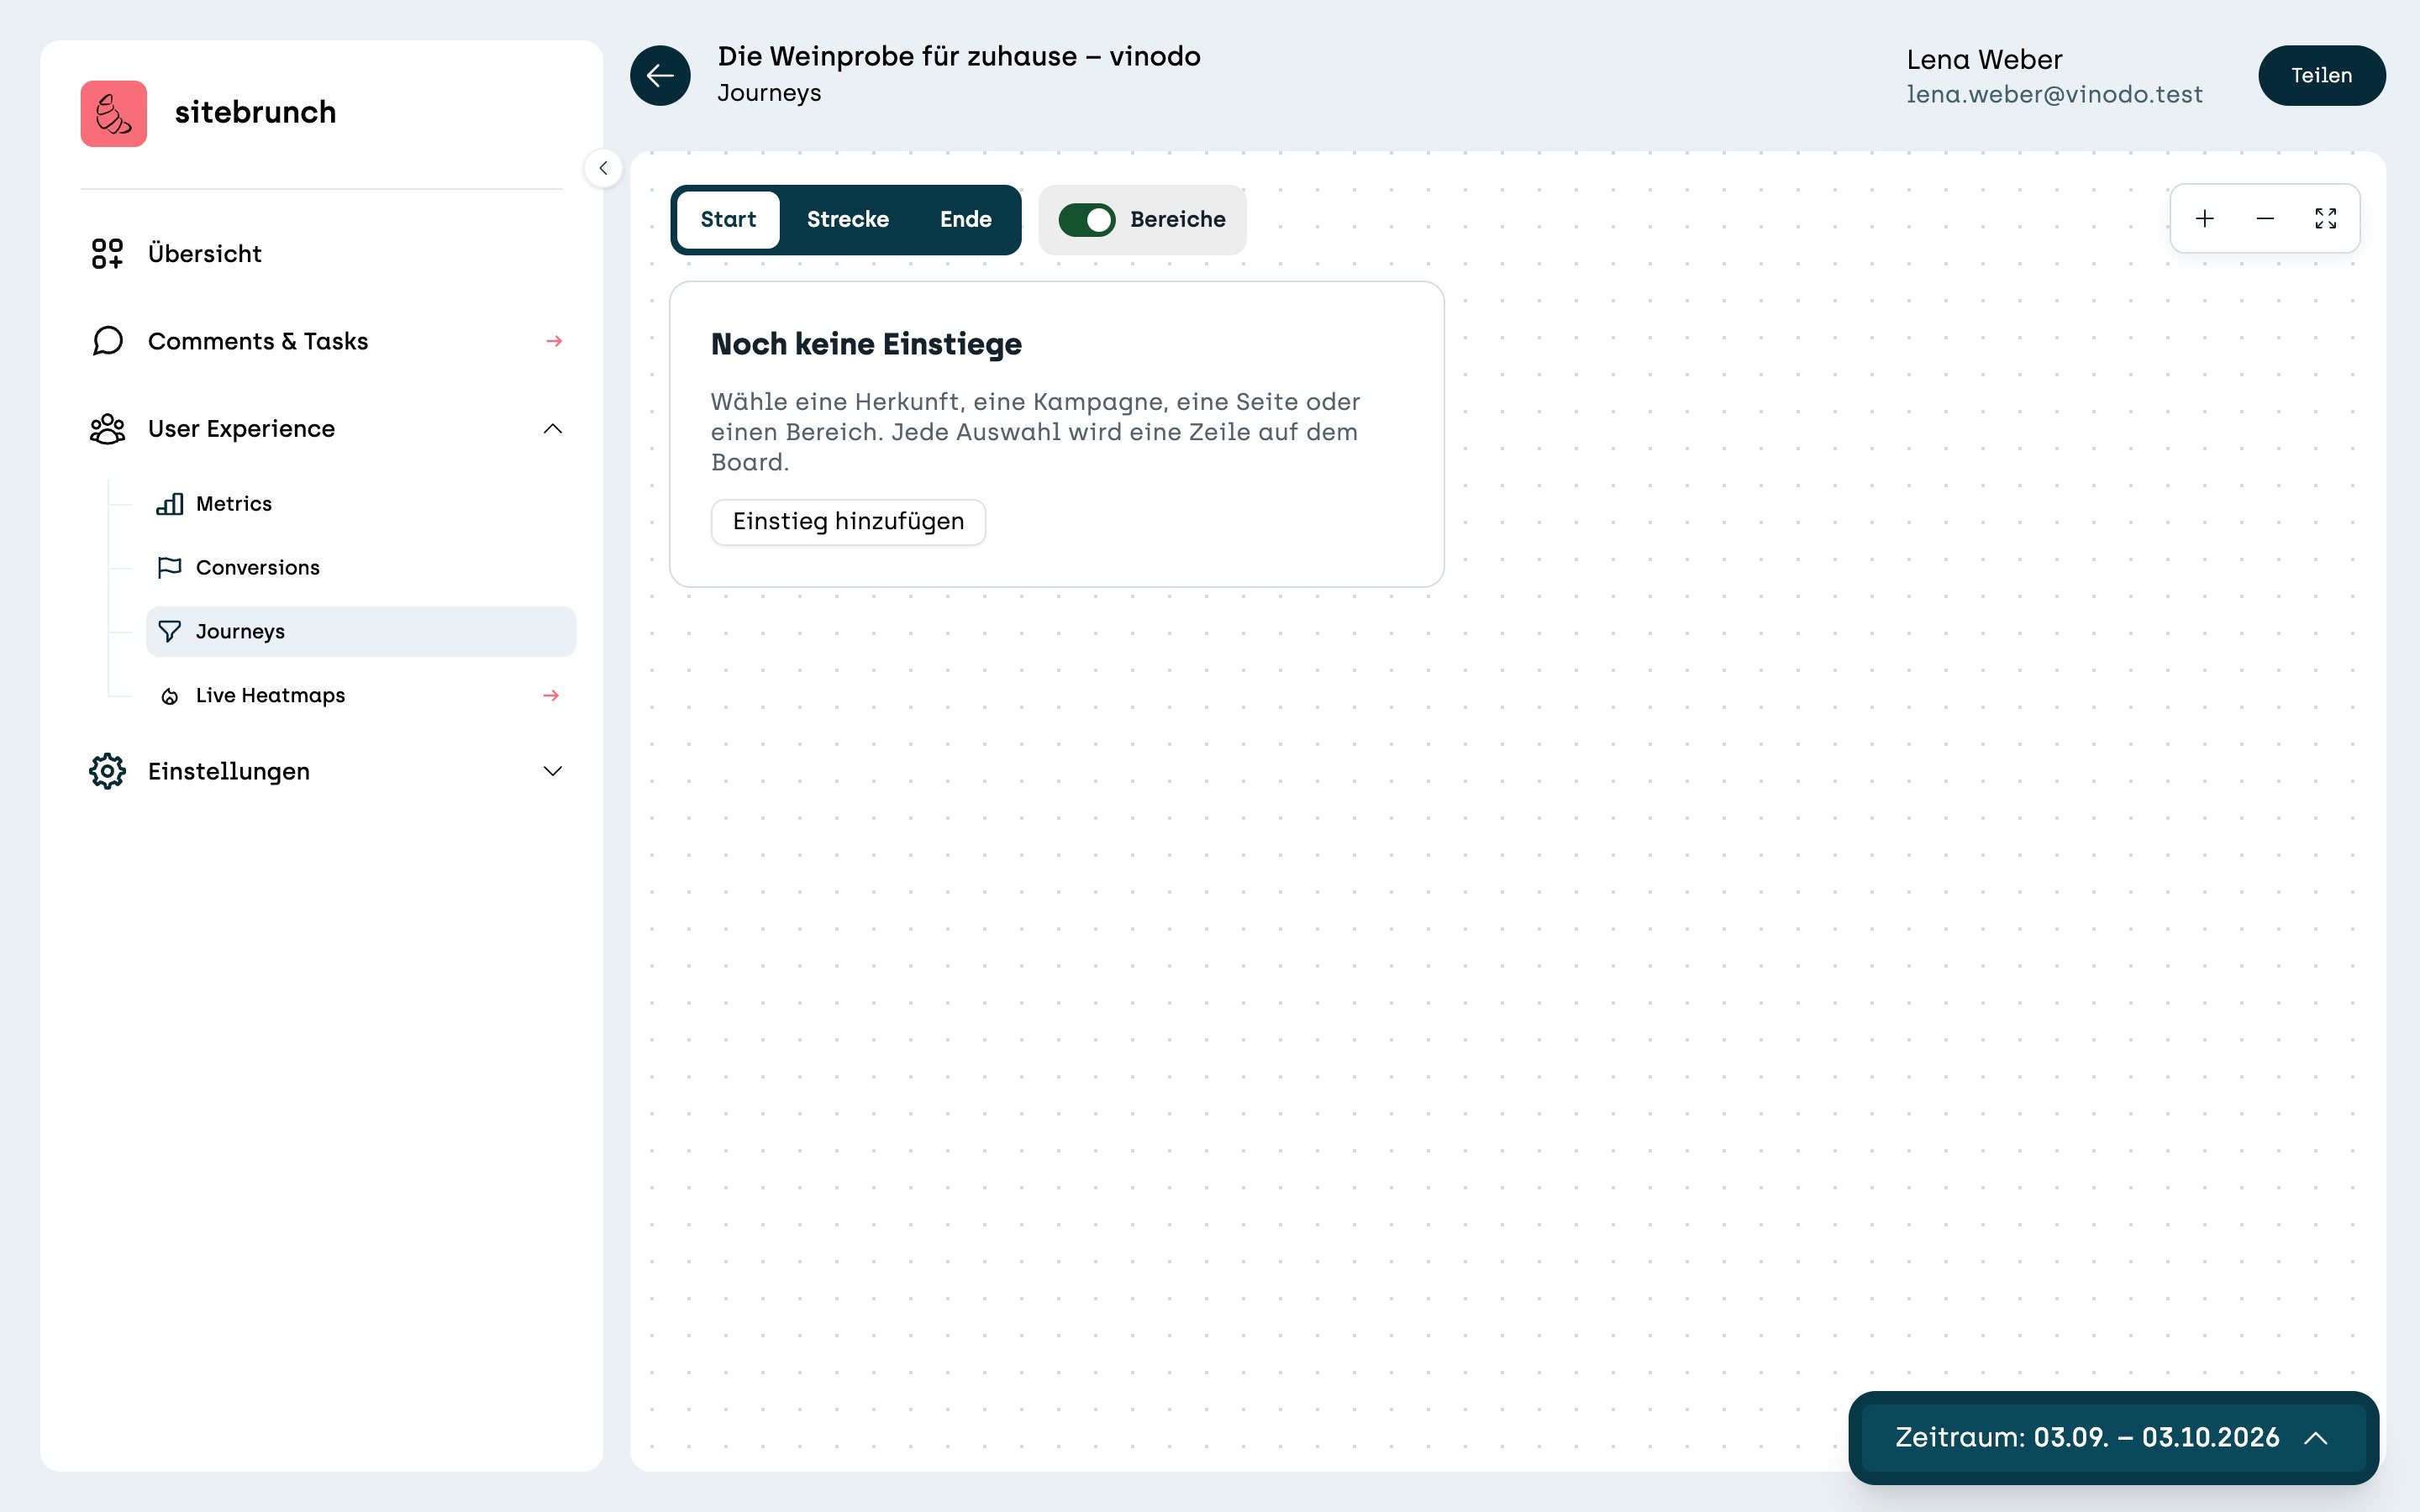
In the menu under “User Experience”, click “Journeys”. The first time, the board is still empty.
The three views
At the top left you switch between three views. Each one answers a different question:
“Start”: Where do visits go that come through a particular campaign, source or page?
“Route”: How many visits get from a particular start to a particular goal, and via which pages?
“End”: Where do the visits that reached a goal come from?
In each view you save on the left what you want to look at more often. With one click you then switch between your starting points, routes or targets.
Sections
When the “Sections” switch is on, the board groups related pages into one card, for example all product pages under “Products”. These are the same sections you created in Metrics. If you turn them off, you see every page on its own.
Move around the board
Drag the board with the mouse to move it. To zoom, hold Ctrl or Cmd and scroll. At the top right you also find “Zoom in”, “Zoom out” and “Show the whole board”.
Period
Set the period at the bottom right. All numbers on the board refer to this period. Your saved starting points, routes and targets are kept when you change it.