
This article shows you how to set up your website as a project so you can use sitebrunch User Experience.
Last updated: October 2, 2026
Requirements
You have a sitebrunch account and are logged in.
You know your website's address, for example vinodo.de.
Enter your website
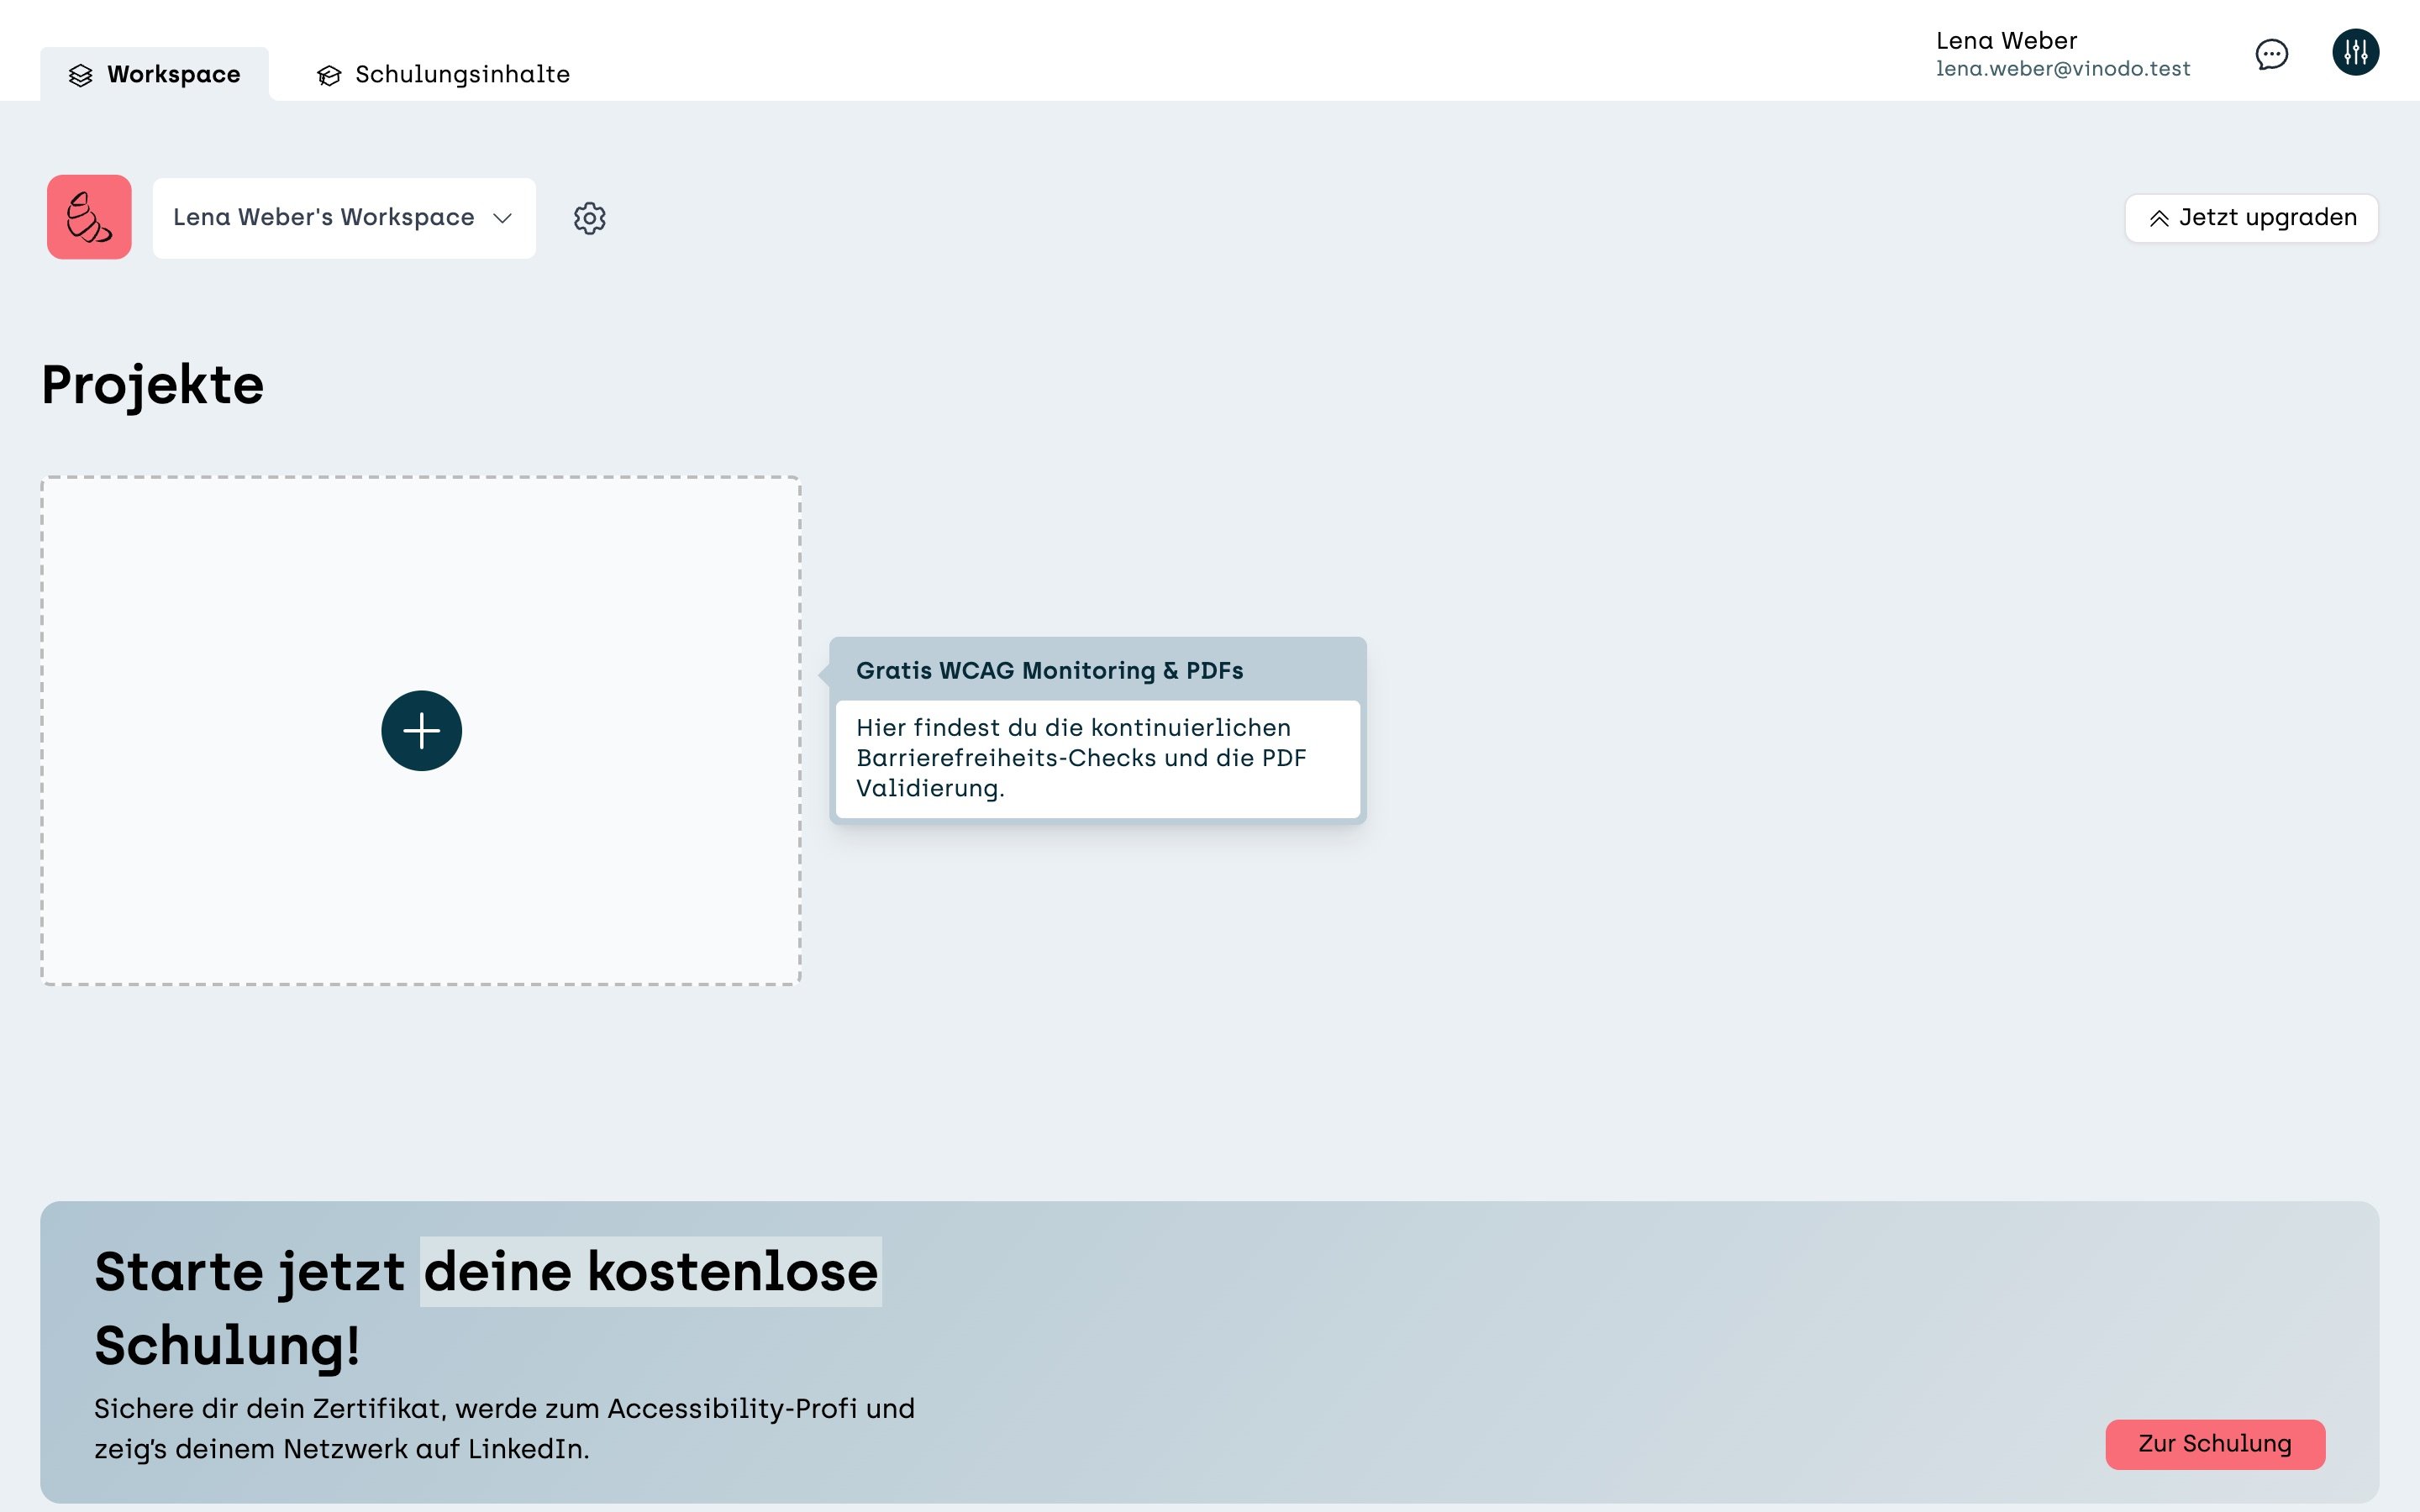
After you log in, you land on the “Projects” page in the “Workspace” tab. Click the tile with the plus to create a new project.
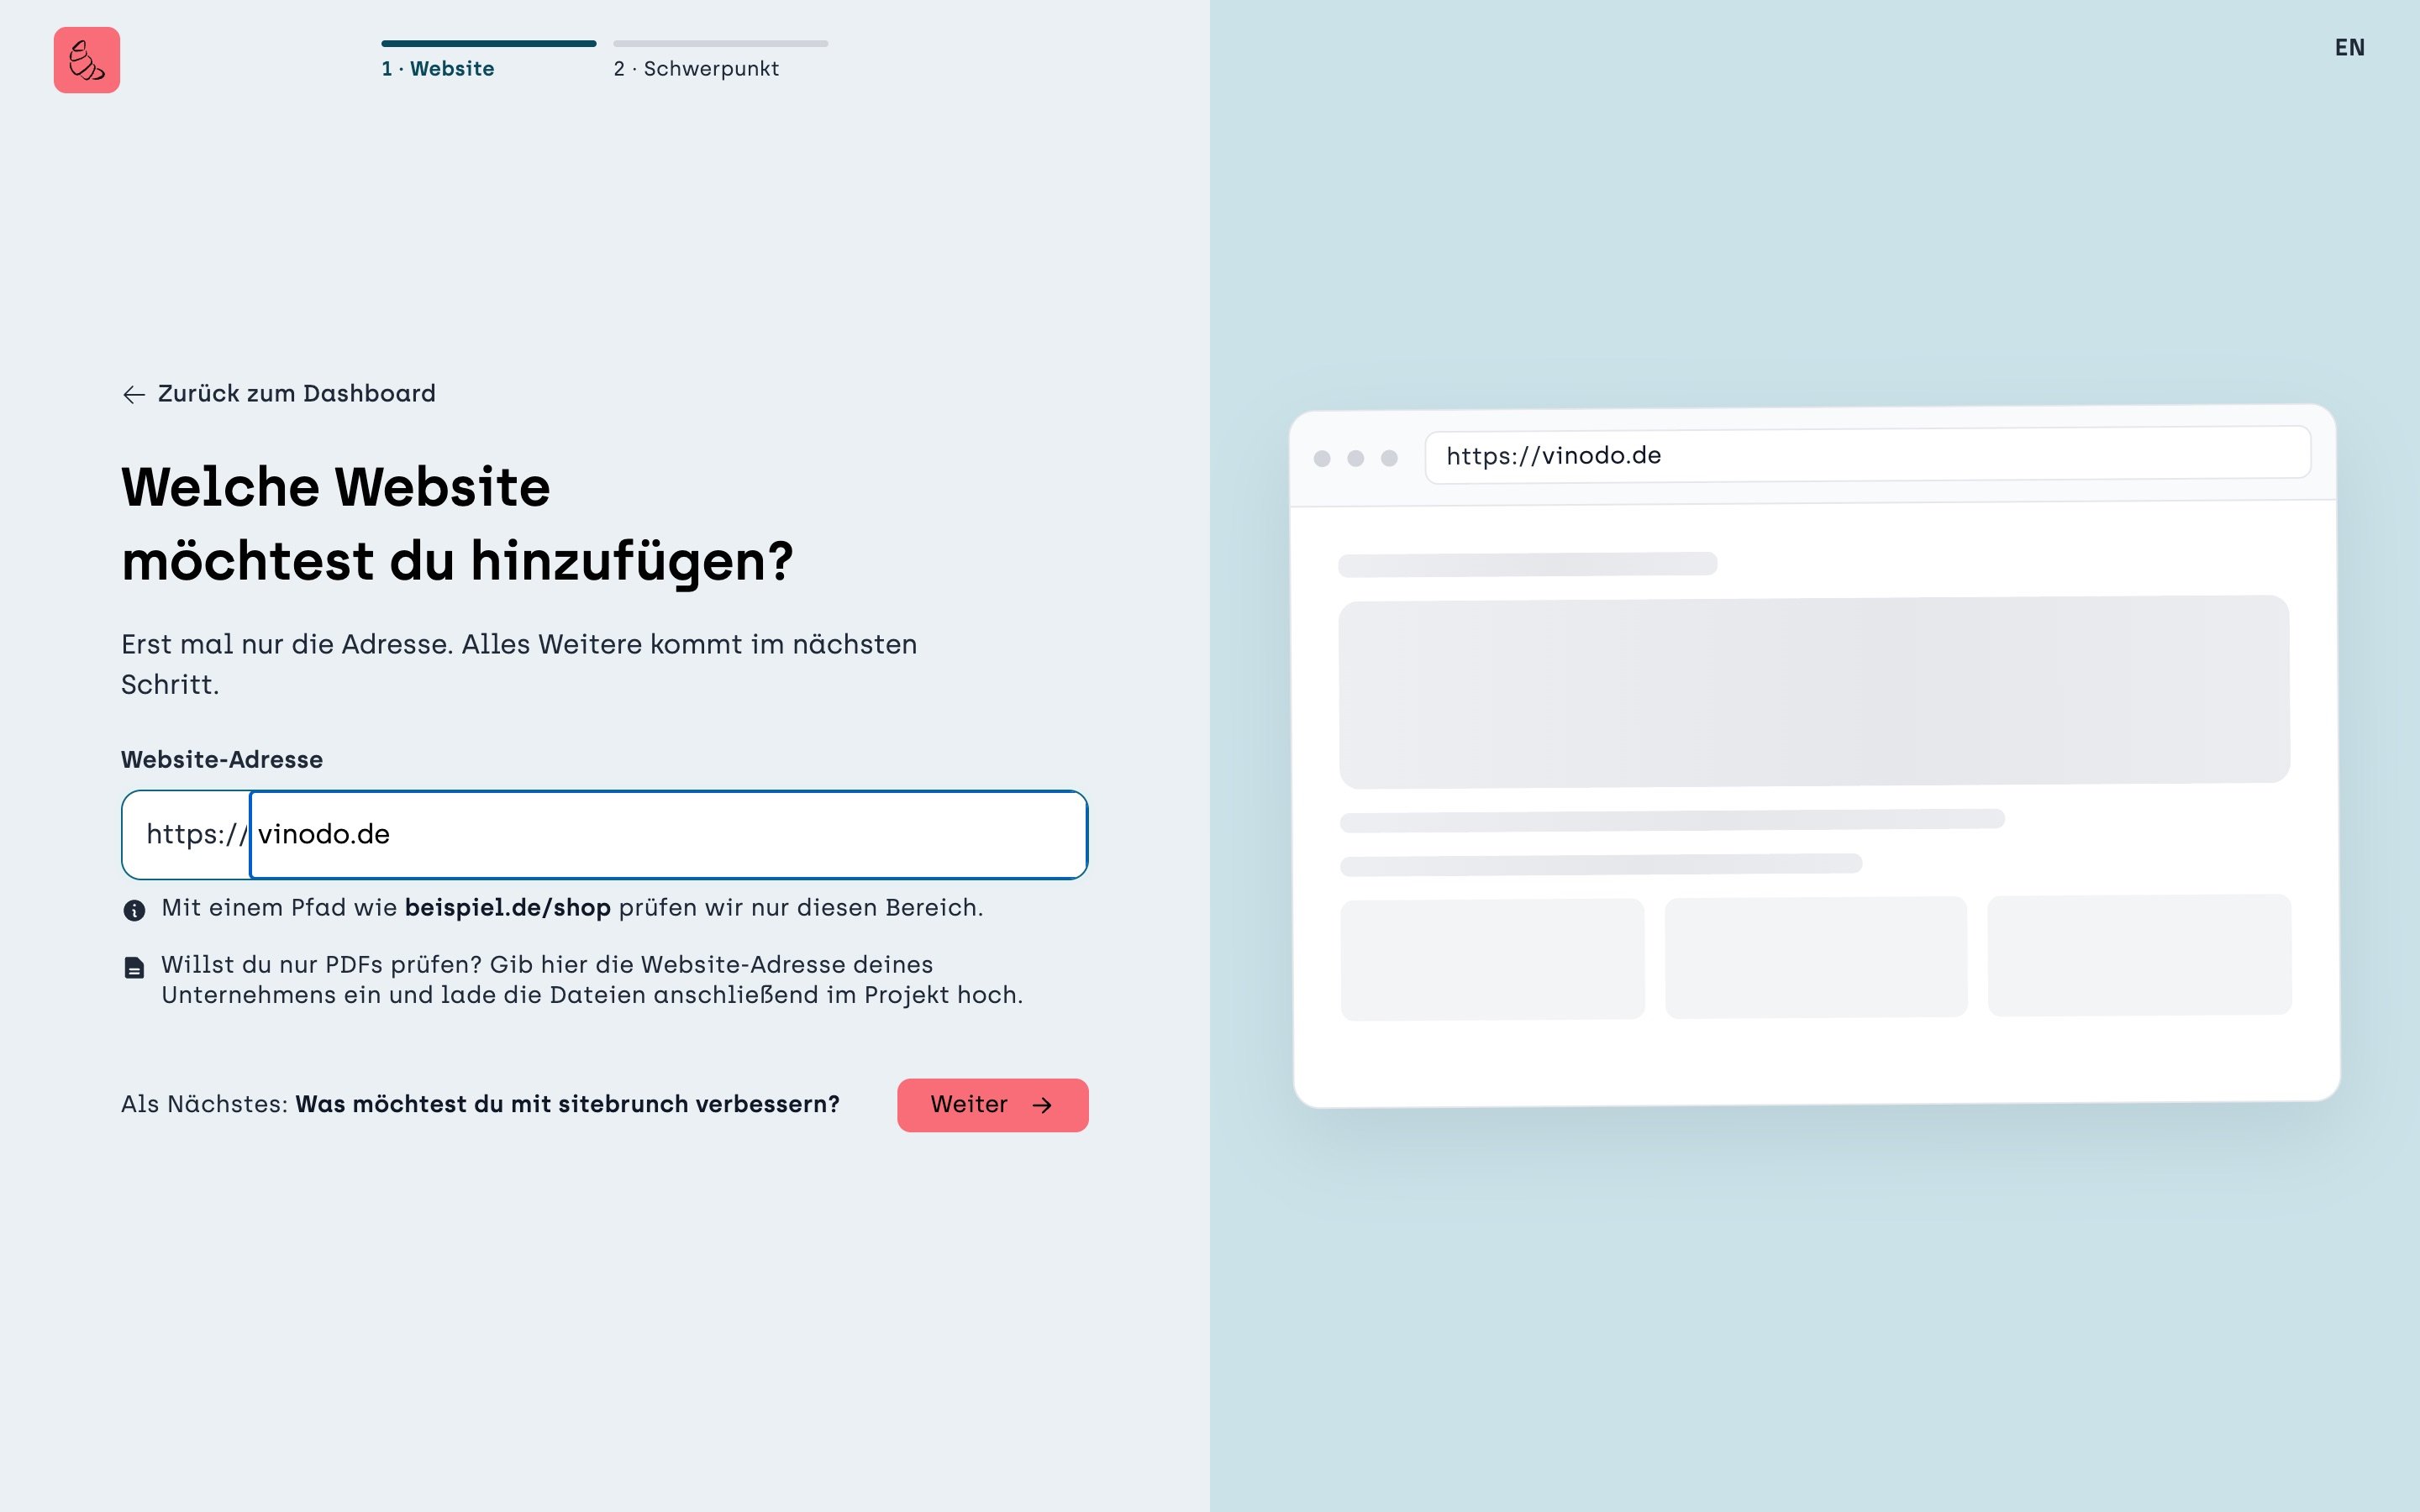
In the “Website address” field, enter your website's address. The https:// is already there, so you don't need to type it. Then click “Continue”.
Choose a focus
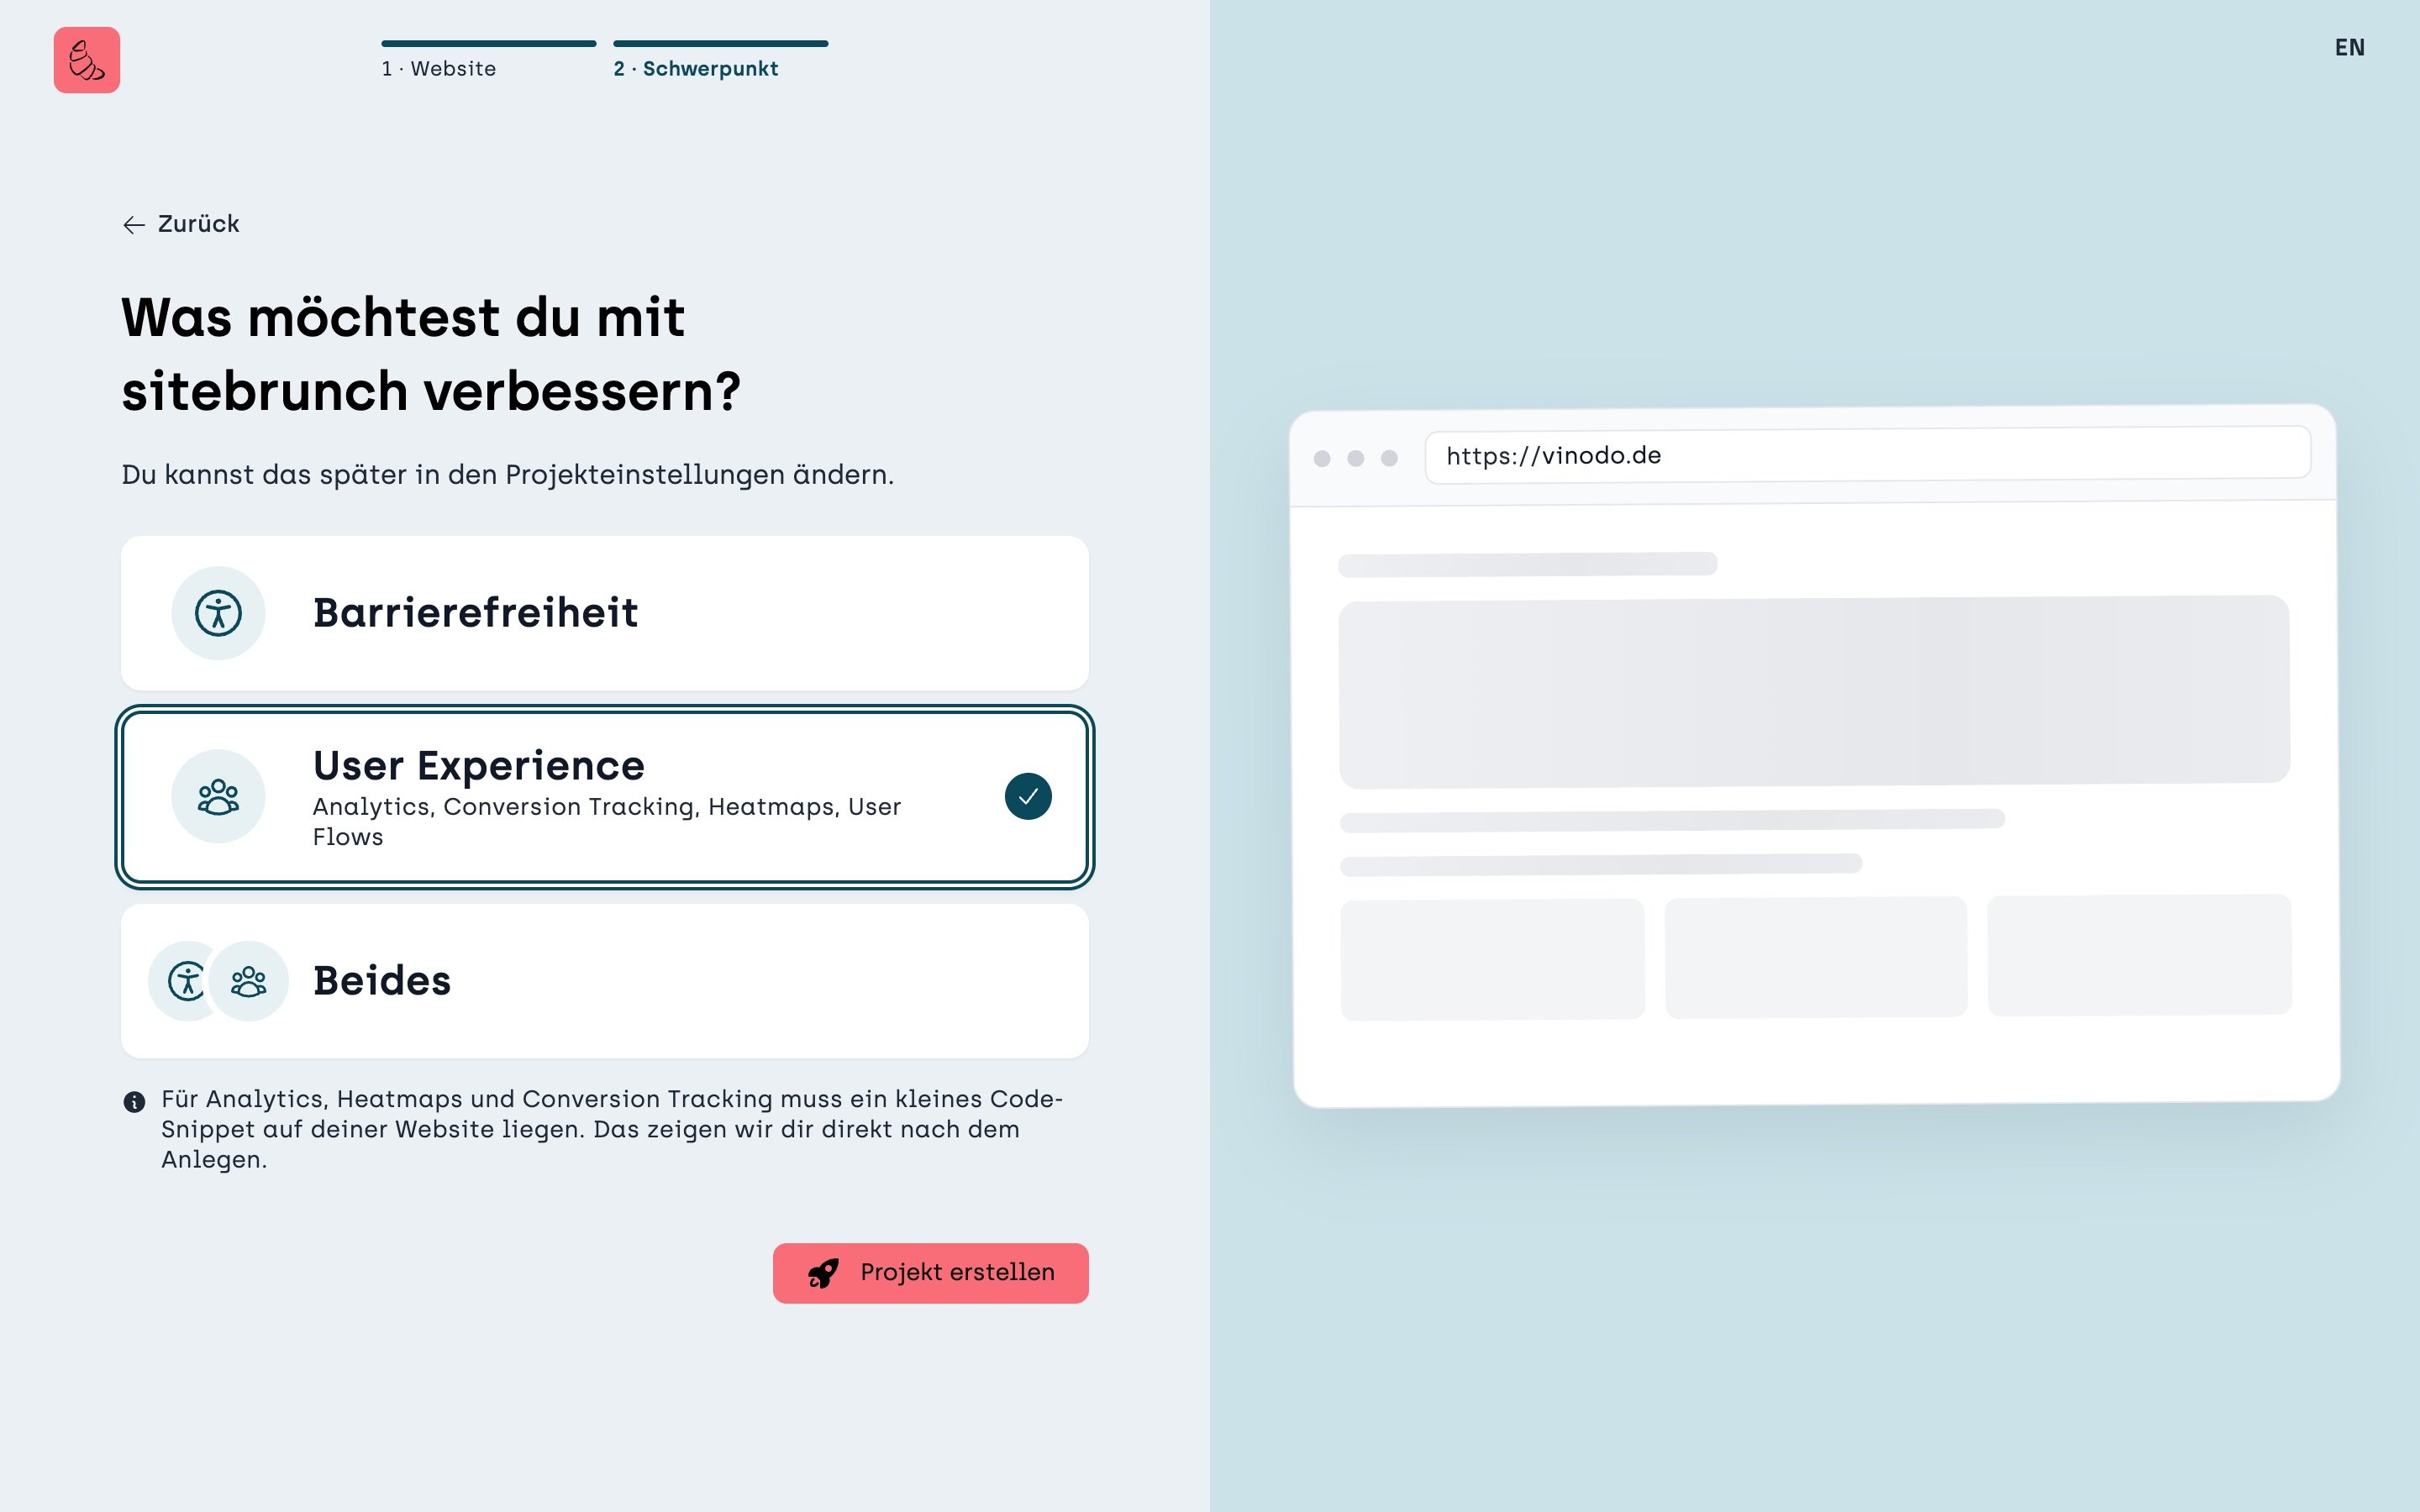
Now sitebrunch asks what you want to improve. Choose “User Experience” if you want to see visits, goals and heatmaps. With “Both” you also get the accessibility check. You can change this later in the project settings.
Click “Create project”.
You then land straight on the “Embed code snippet” page. The next article shows you how to install the snippet.